Showing posts with label upcycle. Show all posts

Thursday, October 13, 2011

Remembering Grandaddy- upcycling a Man's dress shirt.

This post is going to be full of the usual me, but with that is going to be a ton of emotion. Grandaddy died last October, This has by far been one of the worst deaths I have had to deal with, not because I loved him more than any of my other family members that have passed but because I am so much older now, I have kids that are too young to remember who Grandaddy was. Walker will and Avery might, but Gavin will have to be constantly reminded (I don't mind doing that, but man, they have missed out on some awesome greatness) Anyway. When Grandaddy died, I got a hanker-cheif which I carry with me everywhere, at first it smelled like him After awhile the smell dissipated and I was left with just the memories. And I have a shirt of his. When I got the shirt I shoved it in the closet and thought, what am I going to do with it? Grandaddy was TALL I could never wear the shirt...or could I? I can, but in a whole new way.

I grabbed the shirt down yesterday, looking it over thinking, brainstorming. Finally I remembered a skirt I had seen this past spring. I picked up the shirt and just in-case I smelled it, it smelled like him, I don't know if my mom or my sister or one of my cousins sprayed it, but just under the neck on the shoulder it smells like Grandaddy. Normally that piece would be scrap but It is in a plastic bag in my Jewelry box, sure time will take that smell too, but for now, it is mine and I am keeping it. Did you know that smell is one of the biggest links to memory?

Anyway onto the DIY upcycle.

This would work best in a solid color, My shirt has memories attached so that is why I chose it.

Now the one I saw this past spring used the arms as a belt, which would be fine if my skirt wasn't already so busy with stripes.  SO although I will add the belt loops I most likely will use the sleeve belt on something else.
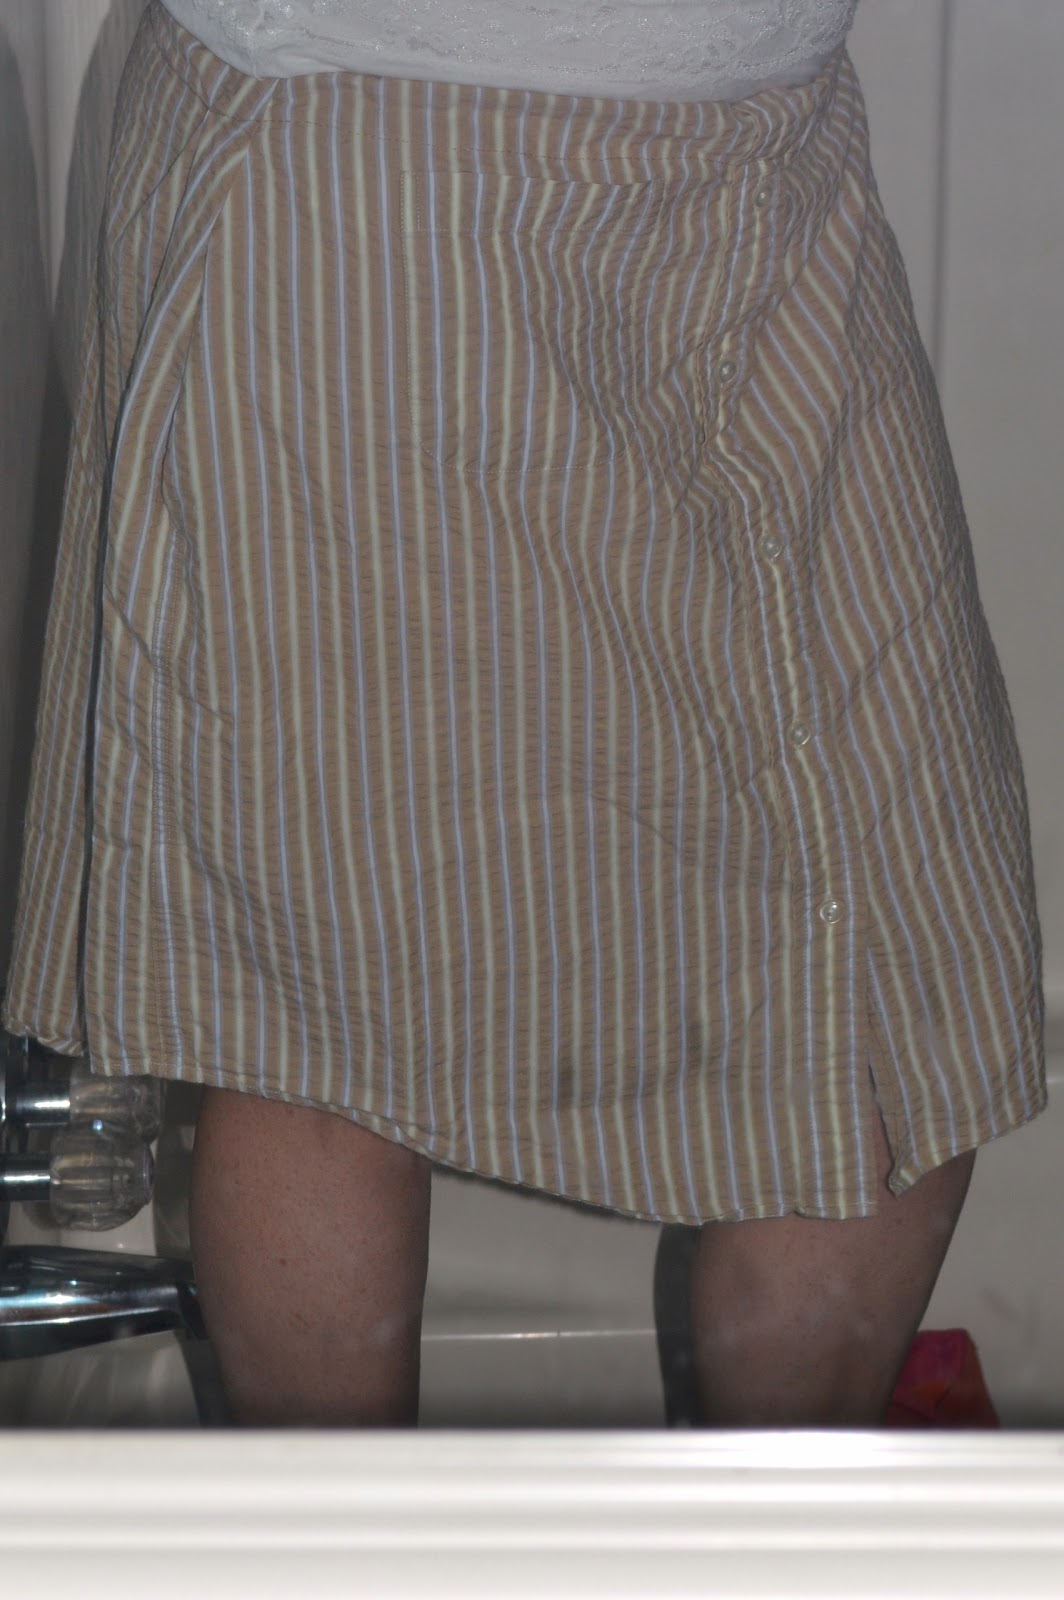
yes, this is a picture of me standing on the tub from the mirror, I am sorry.


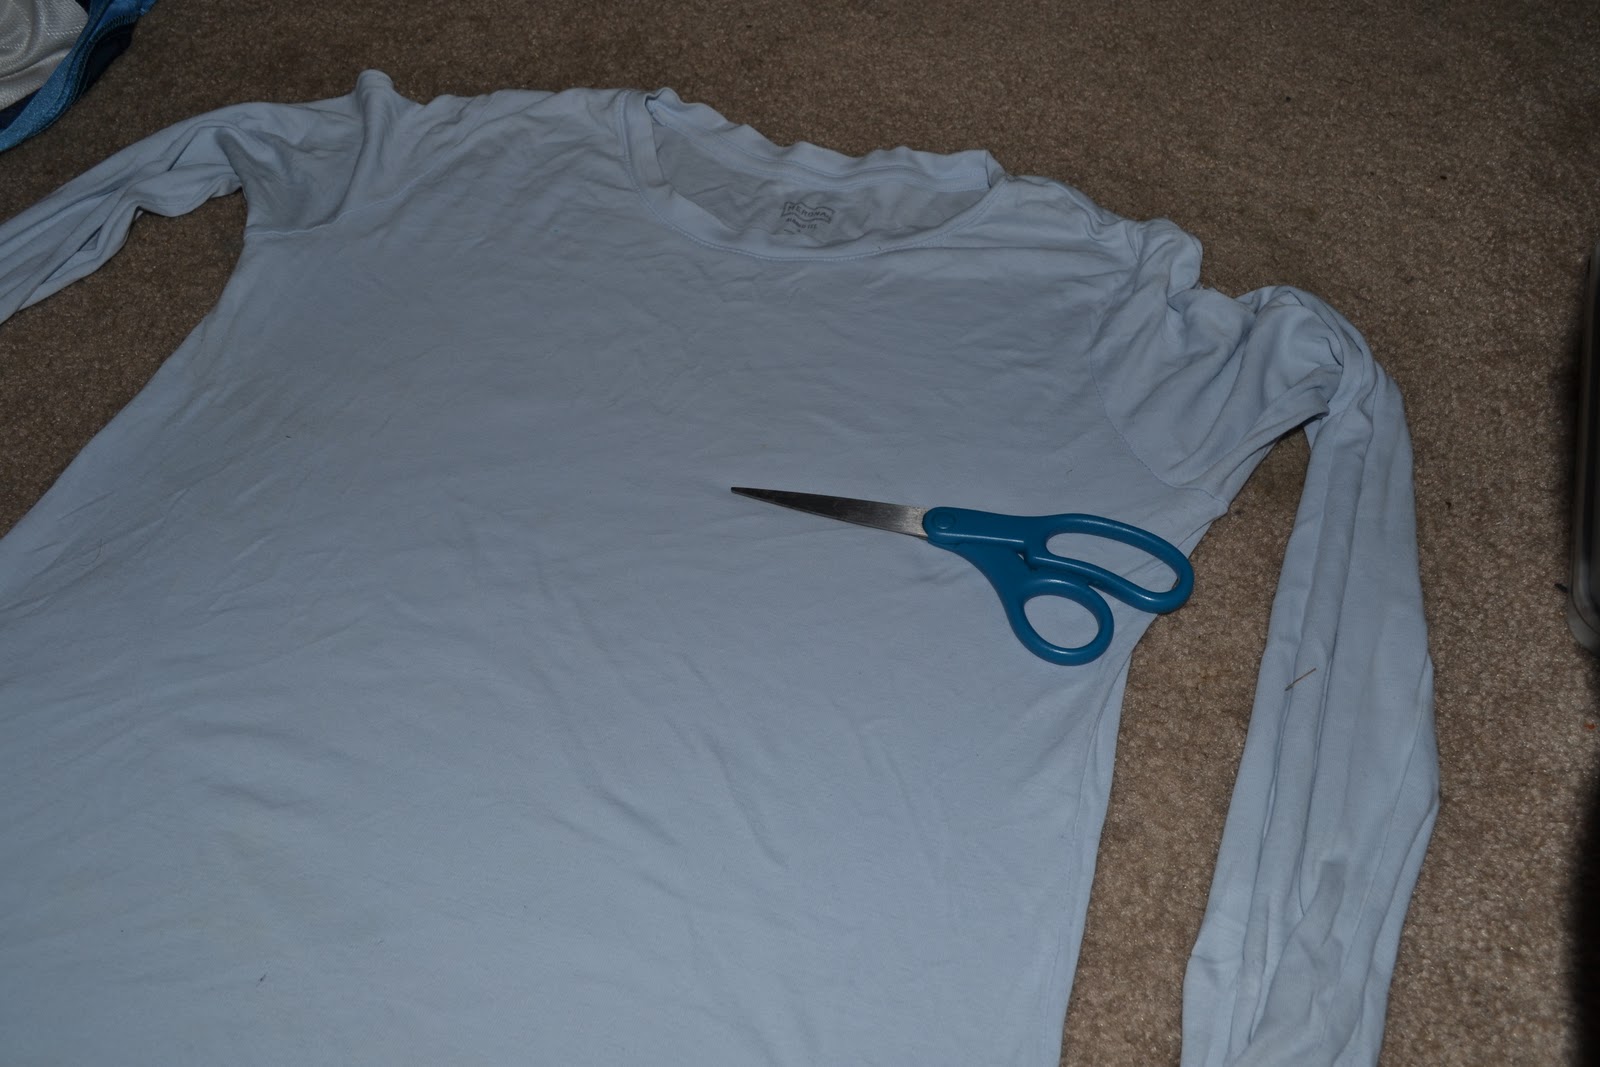
First you need to lay your shirt out and cut off the 
sleeves.

Now sew together your sleeve holes


Then you need to fold it and make casing for your elastic:

Put a saftey pin on the end of your elastic and feed it through the casing. Your waist -1" is how much elastic you need, I will spare you my numbers.

Once your elastic is through sew it together and finish off closing the casing


I ended up with this little triangle piece that once the skirt was finished it kept sticking out like a pocket (or wide hips) I ended up sewing a straight line down and trimming that triangle off.

Four pieces for your belt loops, fold both sides to the center, iron then sew. 4 is sufficient. Then attach to your skirt.


And there you have it, a new, neat, unique skirt. 

you can change the buttons to pearls or add a lace edge I think instead of using the sleeves as a belt I may just make rolled flowers from the fabric and have a matching headband... I will keep you posted.

Wednesday, October 12, 2011

DIY skirts for toddlers.

This day and age we have to do what we can to save a buck. It has caused a lot of people in my generation to find their creative side and to learn a lot of knew things. Luckily I come from a family that has always passed down teachings of things like cooking, sewing, crochet, knit etc... 

I have been putting off having my 2nd yard-sale because, well, quite frankly I am tired and the thought of it exhausts me. Well the cooler air is filtrating in and the signs of fall are quickly showing so I started gathering all my Junk in hopes to make a buck. I was going through the kids clothes and thinking, great, another shopping bill since neither of the little ones can wear last fall/winters clothes *makes note to by bricks for children's heads* They are growing so fast.  Then as I was going through my clothes, I wished there was something I could do with them instead of just getting rid of them. And like that, a thought is born. I ran through the house grabbing my old shirts, and a pillow case that was brand new and some scrap fabric I had laying around. (Don't worry, I am lazy so even if you think you CAN'T sew, trust me, you can. If you don't have a sewing machine, get some of that iron-hem (the name of it fails me) and you can hand stitch your elastic together, or if you would like you can hand stitch it all, it shouldn't take long!

Let's start with the shirt skirts, I didn't take pics when I started this so I am using a shirt that I am not cutting up to show you where to cut. It doesn't matter the size unless it is long you can cut it shorter, I used a lot of tank tops so they were not very long. Cut just below the arms, all the way across the chest. The hem at the bottom of the shirt is going to be the hem, that takes away that daunting task.


Now, You need to (do as I say not as I do) Turn the skirt inside out, Fold the raw edge you just cut so that it forms a casing for your elastic. It is best to Iron and pin this fold, I am lazy;  if you don't know this you are not paying attention.


Now I used contrasting thread for 3 reasons, 1. I am seriously WHAT? that is right, LAZY and do not want to re-thread the bobbin. 2. These 2 particular skirts are just simple little play skirts and even if she does where them out a shirt will cover the thread at the top. 3. So you can see how much my sewing machine hates me and how horrible my sewing is. Sew the casing until you have a small gap left to finish, this is the hole you will thread your elastic through.
Measure your child's waist and subtract one inch, this is how much elastic you need.
Avery's waist is 23" So I cut my elastic 1" shorter at 22"
Put a saftey pin into one end of the elastic and thread/push it through the casing you just made. This part is the part I hate, it is kind of like when those thin little pads in your bathing suit top somehow get twisted and turned, you can feel which way they need to go, it is right there but you.just.can't.quite.get.it. Anyway patients and persistence will get you through.


Once you get through that task, you will want to sew your elastic together then finish off the casing.
TADA a brand-new-used skirt.


The pillow case skirt same directions apply.


The polka dot skirt, All I did with that was take a piece of fabric 26" in width and oh, I would say about 41" long. I folded it in half width wise making it 2 layers of 13"wide. I sewed the ends together (the layers of 13") Then made my casing at the top of the (40" with 1" seam allowance) added the elastic and she was good to go. No hem since it was folded and the double layer of fabric is great for fall/winter with some heavy tights and her boots.

My husband has a bunch of shirts he is getting rid of too, he just doesn't know it yet. I think I may make myself a few of these!!

TAGS: Skirt, DIY, upcycle, tshirts, tanks, toddler girl clothes, easy pattern.